THIS POST HAS BEEN MOVED AND UPDATED. Click here for the new post.
You’re welcome to continue reading it here, but the new post is better (and wordpress is going to show you ads on this page–there are no ads on the new post).
A good friend recently asked for advice about making her home canning more streamlined and efficient. Luckily, Ruby spent the better part of the past four years developing systems to make canning easier and faster. Here’s her best tips!!
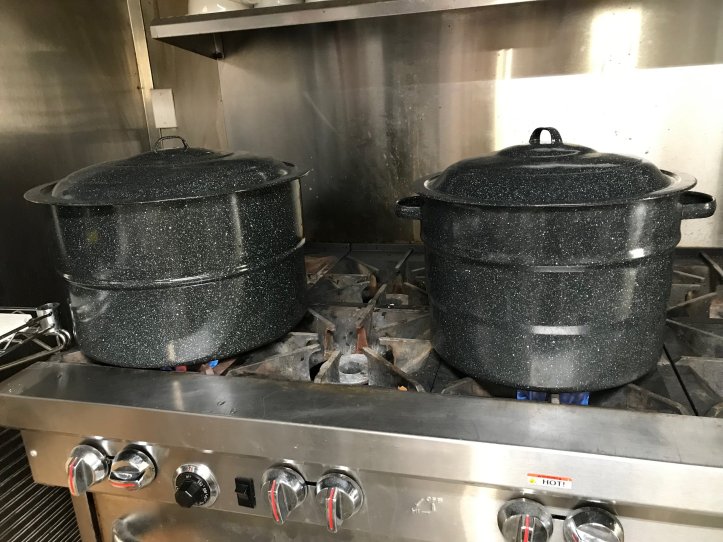
1. Use two canner pots
You can do two batches alternating (by the time I’ve filled one, the next one is usually ready to go) or you can have one for sterilizing jars and the other for canning the filled jars.
2. Hot/boiling water available
Keep a pot or kettle of boiling water or close to boiling that you can add to the canner(s) if the water level gets low so you don’t have to wait for it to heat up to start the next batch.
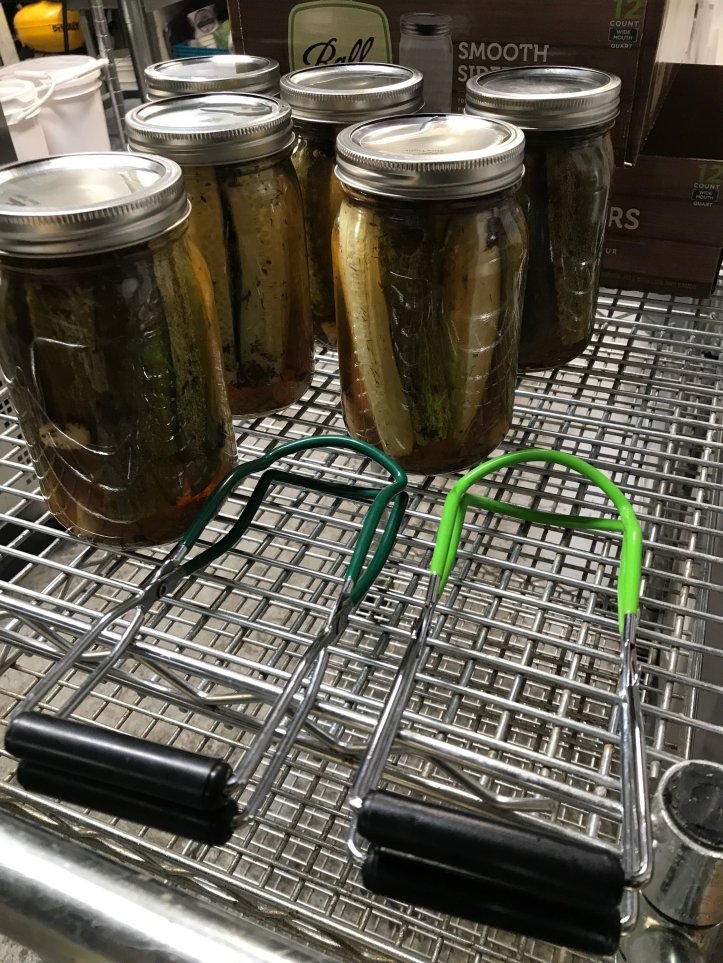
3. Spare canning tools
Having a spare set of canning tools helps too, especially a second jar lifter. If you hone your skills, you can pick up and put down two jars at once if you have two jar lifters.
4. Get a rubber mat to stand on
I stand on a rubber mat for chopping and then move it in front of the stove for canning. It saves my back and my feet from a lot of suffering.
5. Prep ahead of time

Lots of things can be chopped the night before without any deterioration in quality (for example beets, onions, and carrots). Prepping the day or night before make the canning day a bit more manageable.
Make sure your kitchen is clean before you start canning. It is worth the time it takes to clean and clear your surfaces before you start the prepping and canning processes.

Plan how you’ll store the chopped ingredients until they are ready to can (I use a set of food safe buckets labelled with masking tape; each bucket in the picture makes roughly two batches of pickles, so I know if I fill each bucket with the right length/cut of cucumbers, I’ll have enough jars to fit them all.
It is awesome to have a helper or two, especially for prep and cleaning. You can bribe helpers with yummy canned goods.
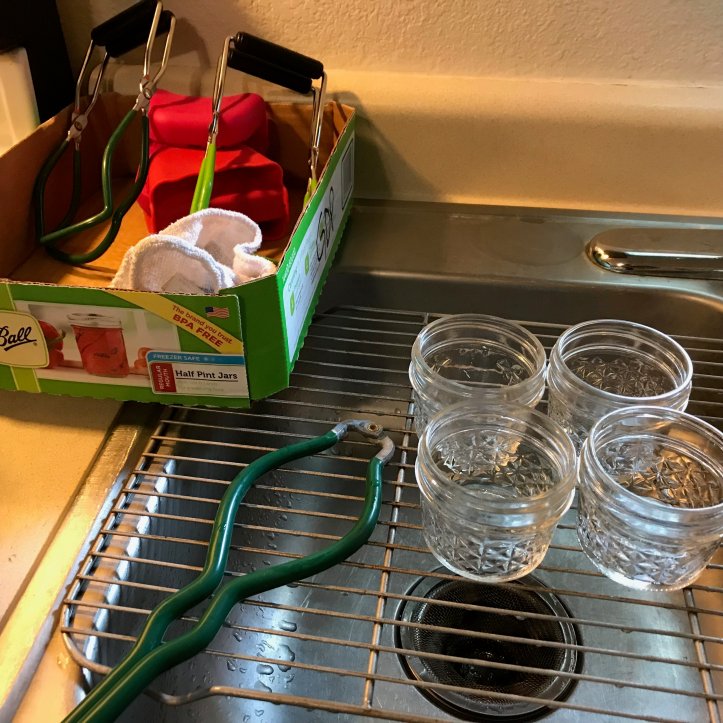
6. Fill jars over sink or rack for easy clean up
When I can for us at home, I put a baking rack (cookie cooling rack, I’m not sure the proper name) over the sink and I fill the jars on that so drips and spills go down the drain.
The sinks at the commercial kitchen are too big and too far from the stove to do this so I use a rack on top of a cookie sheet lined with a clean kitchen rag, so drips and spills are usually caught in the cookie sheet unless it’s an epic fail.

7. Include one smaller jar per batch
I usually include one jar that is smaller (half the size) of the batch I’m doing so in case there is a little extra that isn’t enough to fill a pint jar (for example), I’ve got a hot half pint jar I can fill completely.
8. Treat Yourself!
if you skim foam off of jam or jelly, save it in a little bowl and eat it with yogurt as a treat. It’s perfectly edible and very yummy. Skimming foam is merely cosmetic and I never even bothered doing it until I realized it could be a treat for me to EAT IMMEDIATELY. Now I don’t feel like it is wasting food to skim the foam – somebody is going to eat it (ME!).
